
What We Do
Certified NRVIA inspectors touch up to 500 different components during their inspection. Taking 4-8 hours to complete depending on unit.
What do you get?
A Detailed Report
Abnormal Findings
Detailed Photos
360 degree Interior and Exterior
Life Safety Issues
Peace of mind knowing the exact condition of the unit you’re purchasing!
Unit Inspection Summary:
Check all water systems, tank, pump, hot water
Check Waste systems
Test all appliances
Check electrical systems
Inspect sealant everywhere
Suspension, Brakes, Lighting Components
Slide Systems
Roofs Sidewalls and end caps
Life safety items
Overall appearance inside and outside
Leveling systems
…… just to name a few…..
Tools Used During Inspection
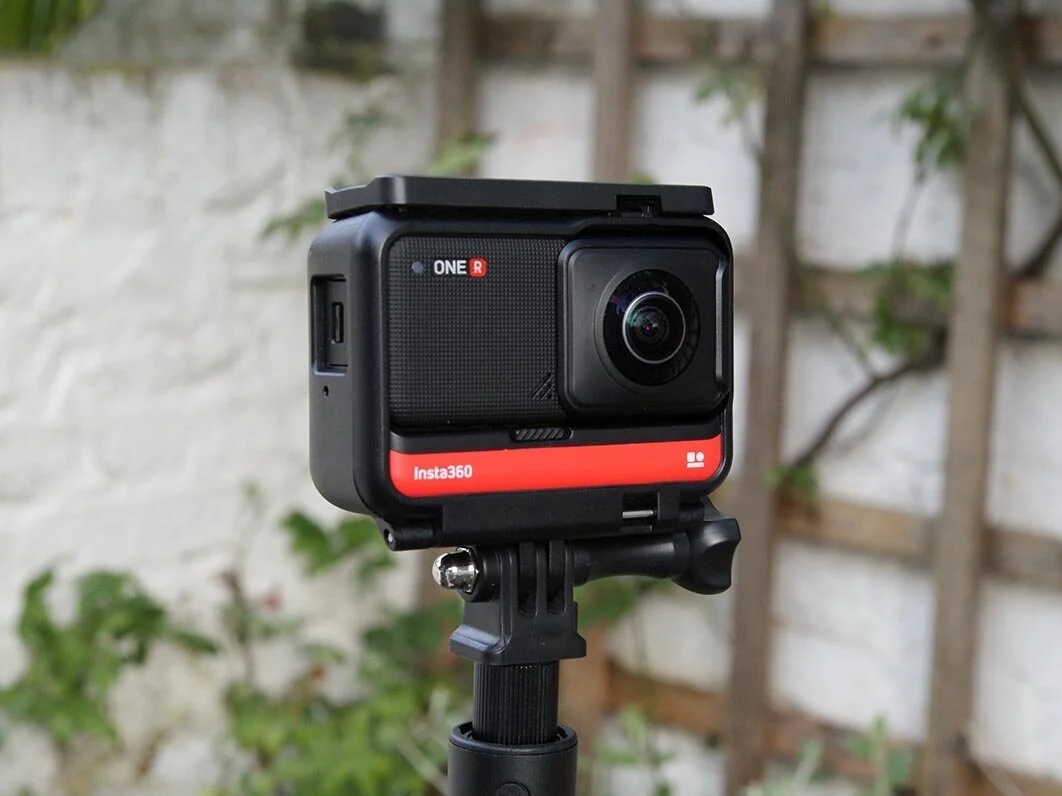
360 Photos
Sometimes standard photos are hard to show the details you want. With 360 it gives me the ability to take photos from the driver seat and other key locations so you can get a real feel for the unit.
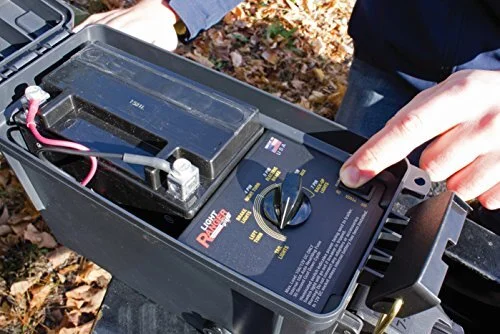
Trailer light and electric brake tester
This is a wonderful tool to test lights and electric brakes on the trailer.
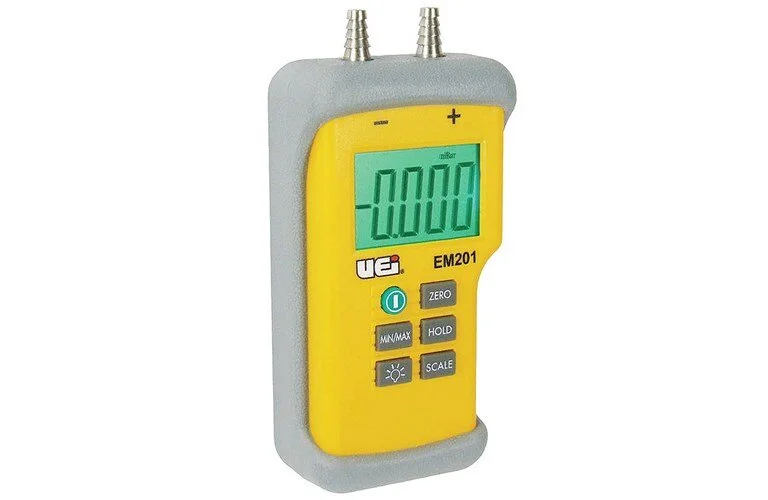
Manometer
This tool is used for checking the propane system. I do a pressure leak test 3 times to ensure there are no leaks within the RV.
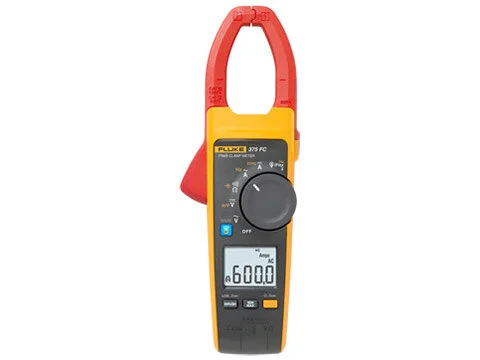
Fluke Electrical Meter
This tool is one of the most important tools for the inspector. It plays a lot of roles within the inspection process- most importantly the hot skin test. Bad power cords or a faulty connection can lead to metal parts of the rv being electrified.
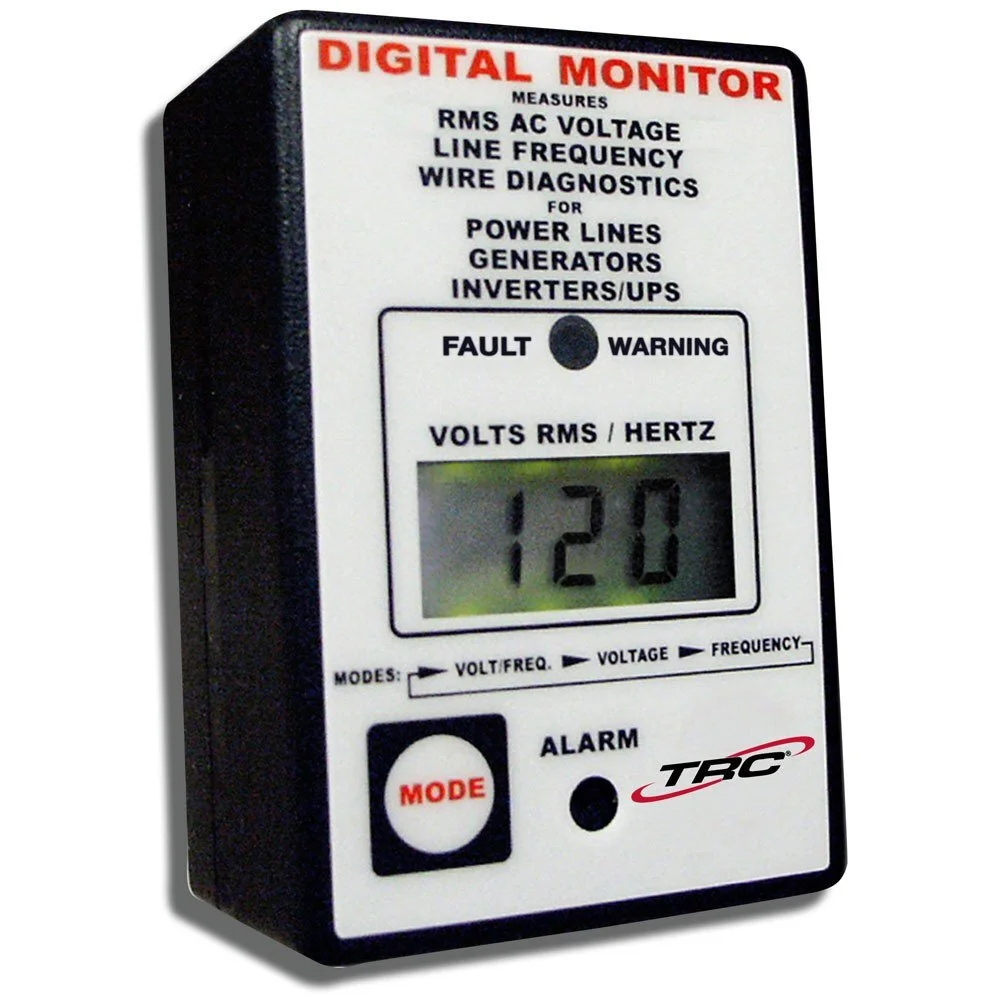
Voltage & Hertz
This tool is great to make sure that onboard generators and inverters are putting out the correct voltage and frequency.
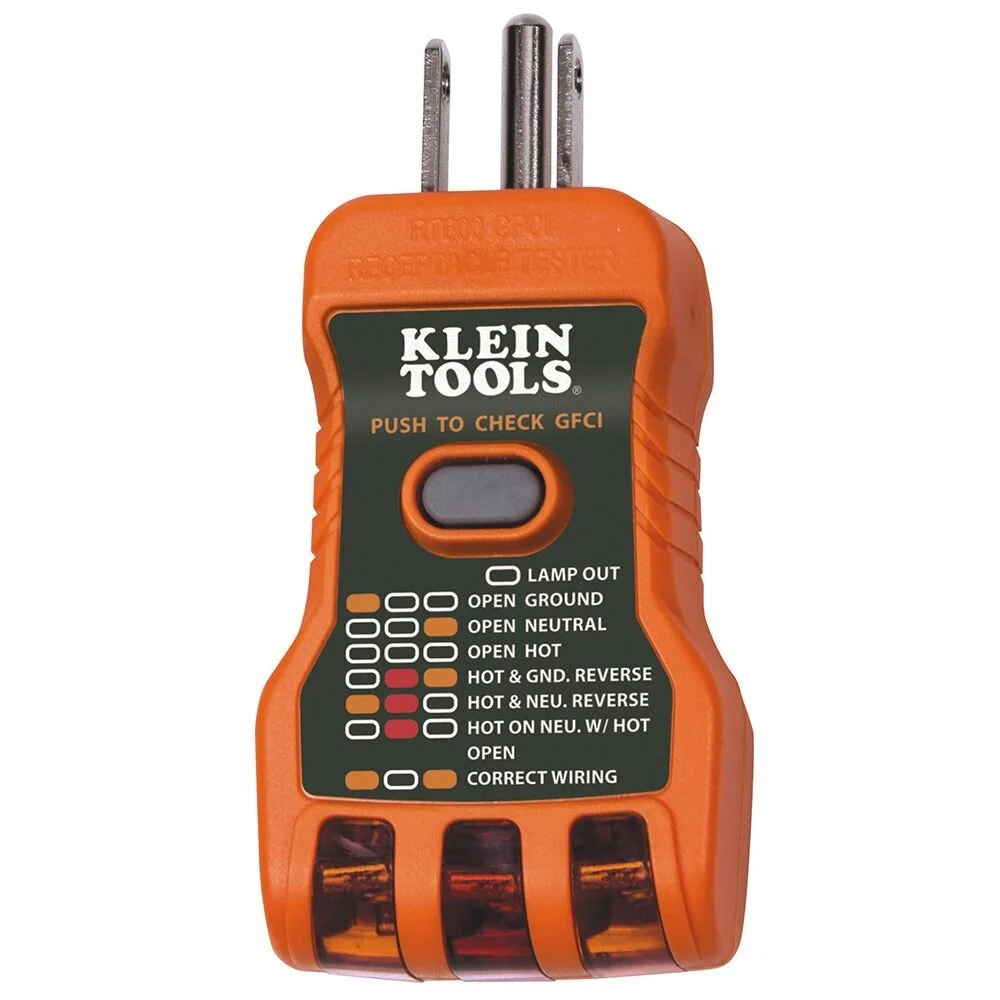
Polarity Tester
One of the most common problems in rvs is reverse polarity so testing every outlet is essential.